
I’ve been digital planning on iPad for about four years now and I’ve learned quite a few tips and tricks along the way that has made the planning experience even better. For this article I’m based on the Goodnotes 5.


You’ve realized I’m going to be dishing out digital planning tips and tricks to make the experience even easier and more enjoyable. Once you reach the end of the article, please let me know down in the comments what your favorite tip was or feel free to comment your own.
That wasn’t mentioned in this article I’d love to have a whole comment thread of tips and tricks for digital planning. All right so getting started with it.
Tip #1: Digital Planning in iPad: Reading Mode
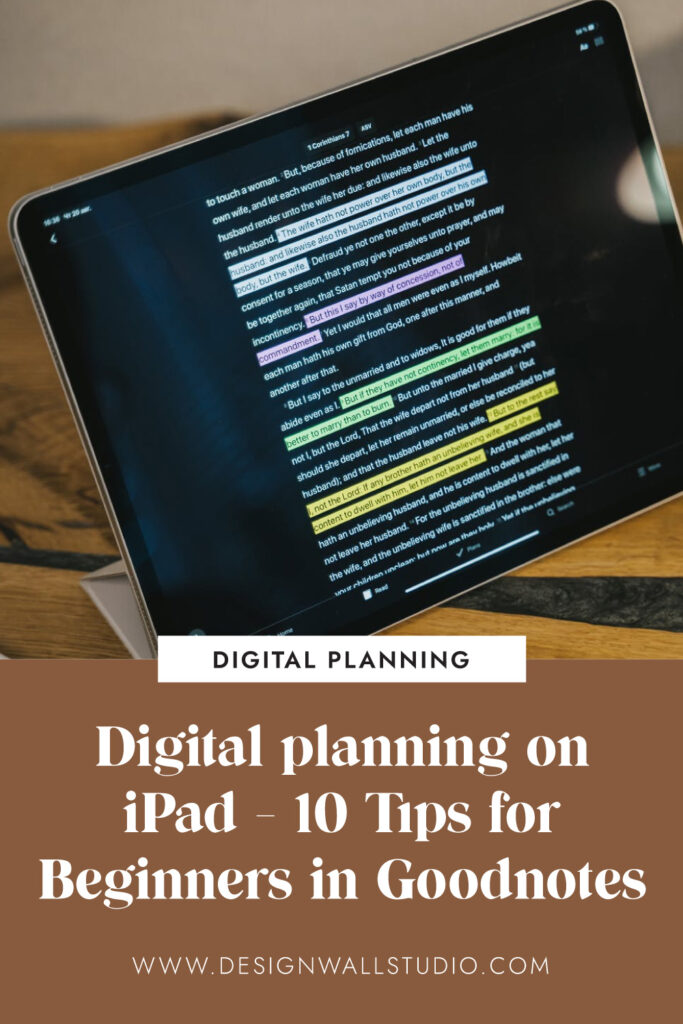
Tip number one; whenever you’re new to digital planning or just getting started with digital planning on iPad, I always say something like make sure you’re in reading mode. Make sure the pen tool is deselected. This is because it’s really easy to click the links throughout your planning whenever you’re in reading mode.
Sometimes it can be a pain though if you’re writing and then having to click a whole different tool in the top right hand corner. Then clicking to a link in your planner but let’s say you’re already using a tool like the lasso tool or maybe you just don’t feel like going into reading mode to click the links throughout your planner. I mean you’re just going to start working in your planner again. Anyway when you get to that page you can actually just do a long press on a link and click open link without ever leaving the pen mode. No reading mode required.

Tip #2: Digital Planning with Links
The second tip is also related to links. You can actually still click links with stickers pasted on top of them. Let’s say you want to make some really cute date dots or you want to make use of some really cute details that you use. If you have links to those daily pages you can easily just paste them over the number and still click to go to those daily pages. This is true for other stickers that you might be pasting over links within your planner.
Tip #3: Sticker Placement with Goodnotes Digital Planning
Speaking of stickers, Goodness does not currently have a layering or layers feature if you use stickers. You might be in a situation where you want to place one sticker on top of the other. In that case whatever sticker you bring in first will be the back most sticker so the sticker you bring in first will be at the bottom most layer. If you bring in a second sticker and put that sticker on top is going to be the one on top. So you want to be sure that if you’re layering any stickers the sticker that you want to go on the bottom should be brought in first or should be pasted first.
A little bonus tip if you ever need to move a sticker that’s on top of a sticker, sometimes you can’t really use the lasso tool because it’ll accidentally pick up the sticker you don’t want to move. Instead you can make sure that you’re clicked onto the picture tool and just tap the picture and move it or you can make sure that you’re on the lasso tool and just do a long press and click edit to move the sticker.
Tip #4: Stickers and Lasso Tool
We are talking about the lasso tool and stickers yet again. So let’s say that you wrote something on a sticker that you later want to move. I recommend actually tapping the lasso tool and tapping that tool again and you’ll be brought to settings which will allow you to toggle on and off different settings. That you can pick up with your laser tool. Whether it’s handwriting images text boxes for that you can just toggle off images and lasso. Your handwriting to move that off of the image you can also do this with text boxes.


Tip #5: Creating Sticker with Goodnotes Digital Planning
You can actually create stickers within the Goodnotes app. Maybe you want a cute bill reminder sticker or a cute payday reminder sticker. You can actually use the text tool and head over into the advanced settings and create kind of a makeshift text sticker. You can change the color of the fill of the shape you can also change the borders to create a really cool sticker.
Looking for FREE Digital Planner to try out. Download Now ->
Tip#6: Covering Texts on planner in Goodnotes
Covering words that are part of the template or digital planner that you’re using. So let’s say that there is a template within a digital planner that you love. But perhaps you wish they didn’t use such a word choice or you want to cover up pieces of the template that you don’t use. You can easily cover up words and parts of the template by using screenshot.
Tip #7: Covering Permanent Parts
An easy way to cover up permanent parts of your digital planner and truly making it customizable to you is using the lasso tool. And just circling a random section of the page of your digital planner, taking a screenshot of it copying and pasting it over whatever you want to cover in your digital planner. You can also get a better crop whether that be for stickers or diagrams that you’re inserting into your digital planners or note by using the free freehand option under crop.
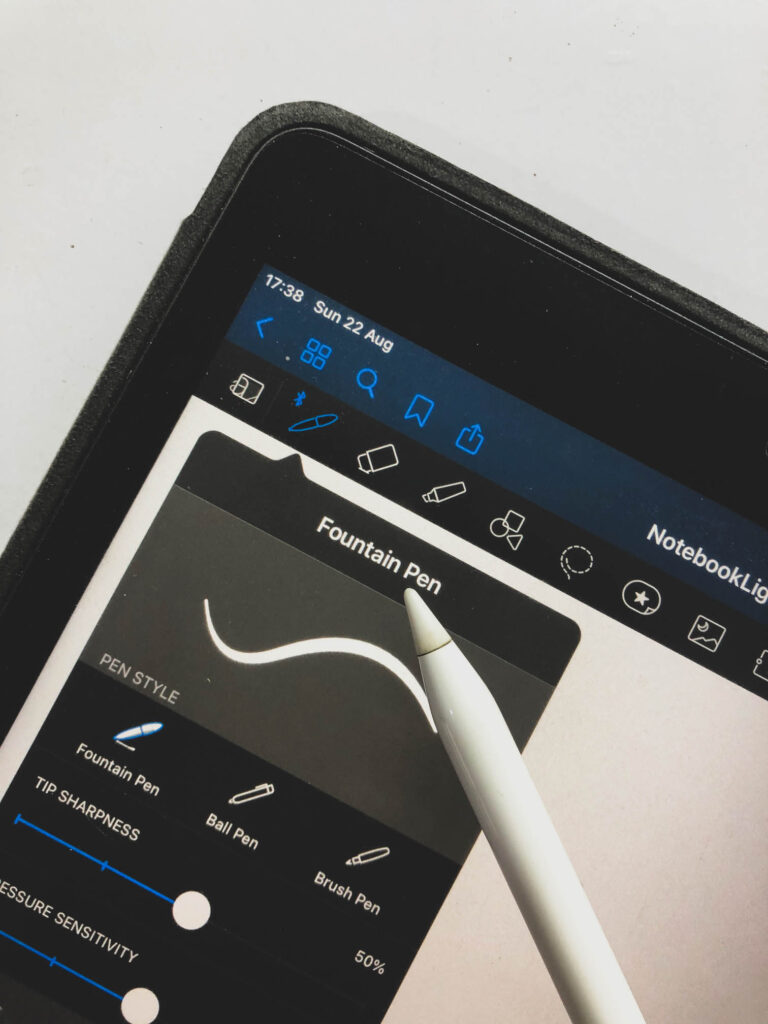
Tip#8: Customizing Pens and Highlighters
This tip of digital planning on iPad is for those who want to customize the pens and highlighters in their digital planners. Whenever you come across a color or color palette that you love either on the internet or within a piece of artwork that you just absolutely adore you can actually get the colors from those images either using free websites. Where you can color pick or I recommend using Procreate. If you have the app you can just drag and drop that image in and it will auto generate a color palette for you. Once you have that color palette you can look at the hex codes of those colors and just copy and paste those hex codes over into your pens and highlighters.

Tip#9: Use of Outline Feature
Another great tip for digital planning iPad tha I have for you is to actually make use of the outline feature. If you’re using the Goodnotes app for digital planning if you’re one of the unfortunate souls that has a really laggy planner. And Goodnotes the outline feature will be a game changer for you you can easily bookmark the pages and title pages of your digital planner. And jump through those pages using the outline feature. It can also be a really easy way to jump to that page that doesn’t have a direct link within your planner. Even with planners that I don’t have major lag issues with I still find myself using the outline feature because I think it’s so easy to do within Goodnotes.
Tip #10: Digital Planning on iPad: Creating Shortcut
Alright, my last tip is actually my favorite that I’ve included in this article. So congrats to you for getting to the end. For tip number ten I absolutely love this tip and it’s actually to create a shortcut to your planner on your iPad home screen. If you’re using an iPad to do this, create a widget on your home screen from shortcuts. Then head over to the shortcuts app click create a new shortcut and choose the Goodnotes app from the apps section.
From there you can select your planner. So now when you want to access your planner you can just click the shortcut that you created on your home screen. And it will automatically pull up that planner in Goodnotes. So you won’t have to open up the Goodness app and shift through all your folders and files if you have a lot to get to your planner.
So I hope you found all of those tips useful. Please don’t forget to comment down below your favorite tip that was included in this article. Also your own tip if you have one that wasn’t included in this article. I’m happy to see other tips and tricks when it comes to digital planning on iPad.
Thank you so much for reading again. Please don’t forget to share this article. In front of the eyes of people who want to see tips and tricks about digital planning on iPad.