
If you’re like me and you don’t have the best handwriting, don’t get demotivated. I’ve compiled a couple of tips that I’ve used the past year since I’ve started digital note taking. That have really helped to improve the appearance of my notes.

Digital Note Taking: Essentials
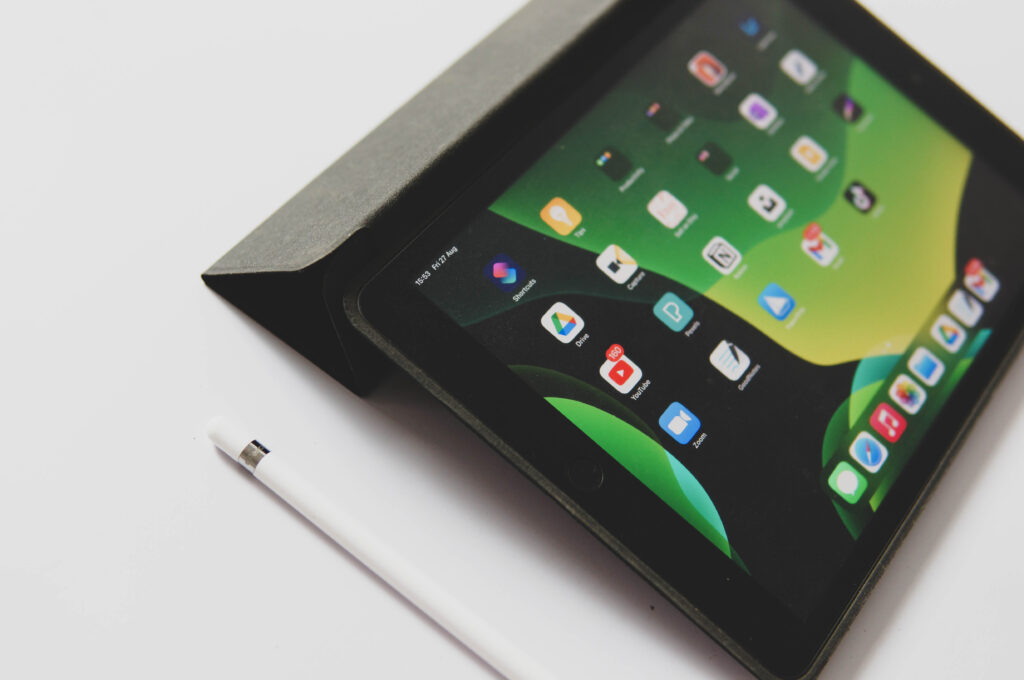
Device: Apple iPad, Pencil, and Screen Protector
I use the budget, 7th gen iPad with 32 gb. If notetaking and basic media consumption are the only things you do, an ipad the 32 gb is fine. But If you use ipad for everything, take 128gb version! With it I use the first-generation apple pencil. The pencil alone is quite slippery and uncomfortable to hold and use for long periods of time. So, I use silicone pencil sleeve that I’ve bought from amazon. It does add a little bit of weight to the pencil but when I’m writing for long periods of time, having that extra cushion definitely helps. It also holds the cap for when I’m charging my apple pencil.
On my actual iPad, I have a matte screen protector from Bersem as a cheaper alternative to paperlike and I bought it off of Amazon as well. Compared to the Paperlike brand which is around $40 the Bersem one is about less than $20, so around 50% off.
These things are essentials for digital note taking.

iPad Case
You might have noticed that I skipped what type of case I use. That’s because having a good case is one of my tips! I personally really like using elevating cases. This one is JTech case for iPad from Amazon, it’s a trifold case.

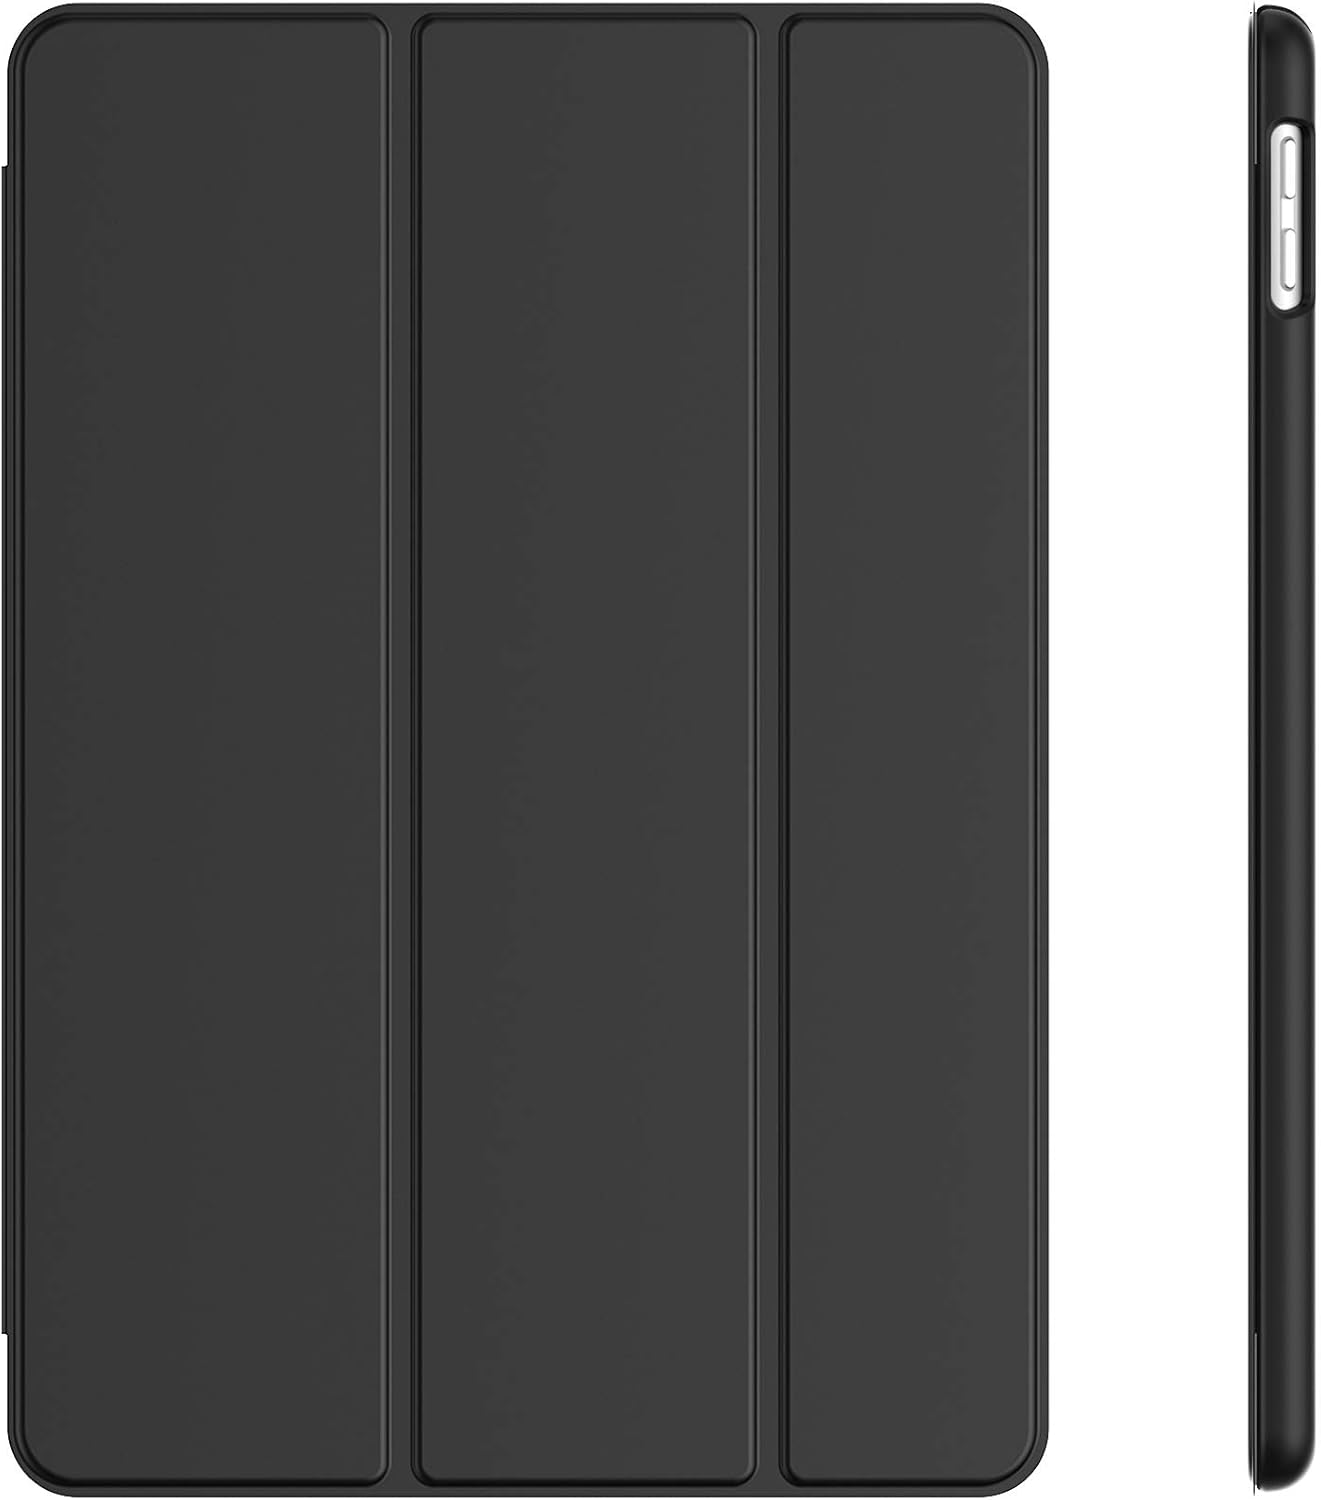
You can stand it up to watch videos or have it at a slant for writing. If you don’t have an elevating case, you can actually just use something else to prop it up. Sometimes I use my glasses case. This doesn’t really have anything to do to make your writing look better, but for comfort it really helps.
Digital Note Taking Tips
Square Paper Templates
The next tip I have is to use squared paper. I know you might have read this in every other note taking article, but it really helps! As you can see, as I write with regular lined paper it is somewhat straight, but the size of my letters vary a lot. When I switch to regular paper you can really tell that my writing is more uniform in height and in width. It can also really help a lot with spacing between terms and topics.
Feel free to check my freebies for different layouts and printables
I have a huge tendency to write crookedly sometimes even with lines or if I’m falling asleep during a lecture my writing will sort of “slip off”. But to counter that I use the lasso tool! It’s really useful for not just reformatting notes but I use it to rearrange my actual letters.

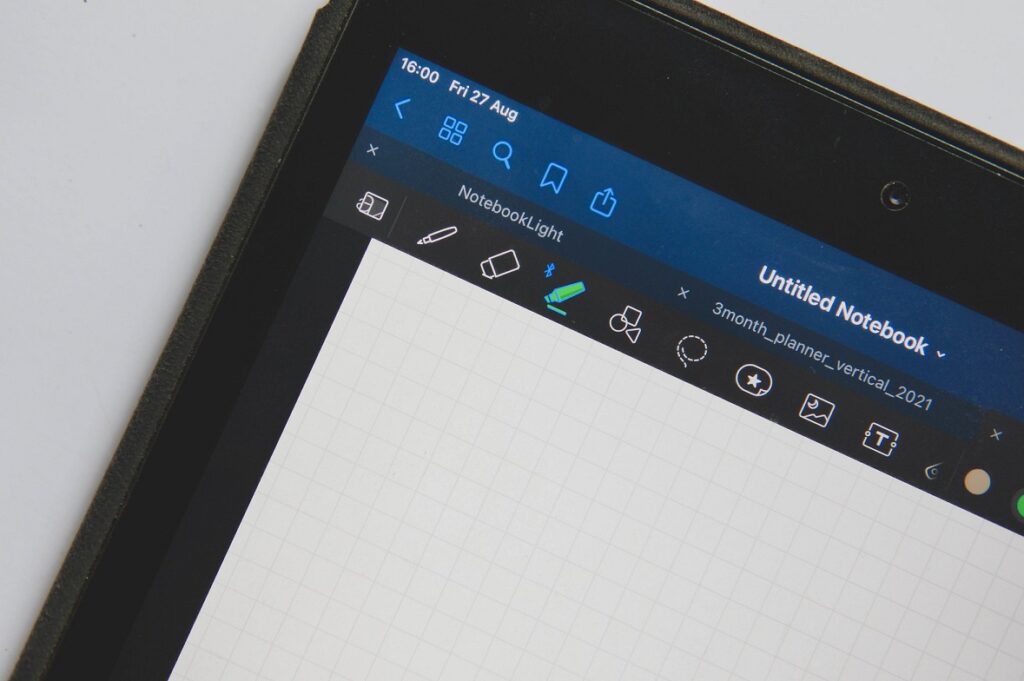
If something looks a little too crooked, I just circle it and adjust. In my opinion this definitely works. Even just resizing my letters can make my notes look a little better. I think it’s really important to experiment with your pen settings. Some people take notes with light paper or dark paper, and even with that you do need to adjust your settings. For myself, I like to use the 0.3 mm size to write the bodies of my notes as well as my sub headings and I use 0.5 mm to write my titles. If you’re curious, here are my presets including my highlighter sizes!. Try these presets for better digital note taking.
Entice with colors
A big thing you’ll see in the study community is the use of colors! I like to use pastel like colors because they are a little easier on the eyes. If you go into your presets, click edit, I use the colors in the second row from the bottom. When I did paper notes, I used the Stabilo Boss originals and these colors matched the colors that I used.


Headers
If I don’t feel like actually writing out the headers, I would use this app called Over. To start off you type in your title and then choose from many different fonts. Even without the pro version, there are many different fonts you can choose from. After choosing your font, you can do many things with it! You can curve it and also pick from a vast number of colors. You can also add and adjust the shadow, as well as add color to that! When you’re done just save it and add it into your notes.
A good tip is to crop is so you don’t have the extra “space” photo everywhere. And you’re done!
If you need to save space, you can actually delete those photos from your gallery and still be able to manipulate the photo in your notes.
Color are doing great job at digital note taking.
Digital Note Taking: Apps
You would notice how quite a bit of people are sharing their note-taking habits and methods for effective studying. Because I am a digital notetaker. I do tend to read articles specific to digital note taking and after many nights of being reading these articles, I noticed how many, if not all of those articles use either good notes or notability as their main note-taking apps. So they got me thinking are there any apps that you don’t have to spend any money on. They’re just as effective and nice to keep all of your notes. And I’m sure that if you just got into digital note taking and spend 500 plus on the setup that splurging another ten dollars on an app just wouldn’t sit well with you and that’s okay.
What paid Goodnotes offer us?
So I went on the app store and search for free fully functional note-taking apps. But of course I couldn’t just go in there with no expectations. So I used Goodnotes my current favorite note-taking app and wrote down what I liked about it. With my list at hand, I organized it into two categories.
- They are things that were essential in the note-taking app.
- Some bonus features that weren’t needed but increased quality of note-taking.
Digital Note Taking: App Essentials
File Organization
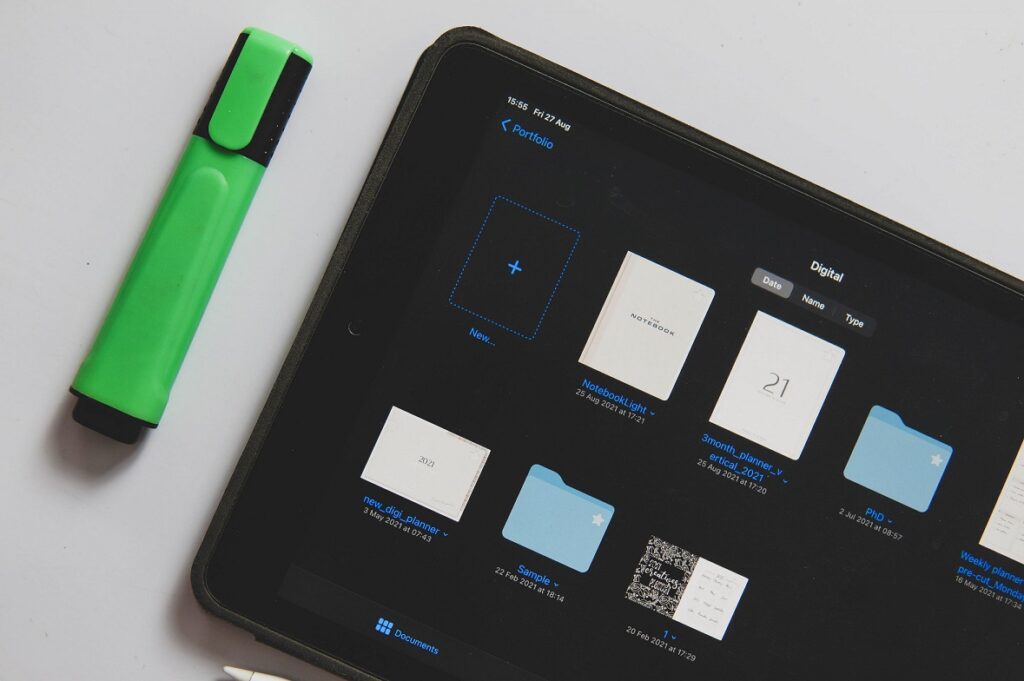
First, we have organization. I personally really like the filing system in Goodnotes. It’s easy to create folders delete them rename and rearrange notebooks.
Writing Options
Next, we have writing options. Goodnotes gives you three different pens to use. We have the fountain pen, the ball pen and the brush pen. As well as some highlighters. I typically just use the ball pen and some highlighters. So, I wasn’t too picky about how many you’re actually given just as long as you got a pen and a highlighter.
Color Selection
What I was picky about was color selection. I didn’t mind if you got the color wheel where you can make custom colors or if you were just given presets just as long as you got at least five different colors.
The Mighty Lasso Tool
And now for some other needed tools. I personally think that the lasso tool. It is very important for digital note taking. It just makes rearranging so much easier. So, you don’t have to erase and rewrite everything again. One of the biggest advantages to digital note taking is being able to just add in those diagrams and tables you need to study.
Goodnotes is best thing happened for digital note taking.
Digital Note Taking: Nice to Have
With the needs out of the way let’s get into the bonus features this includes;
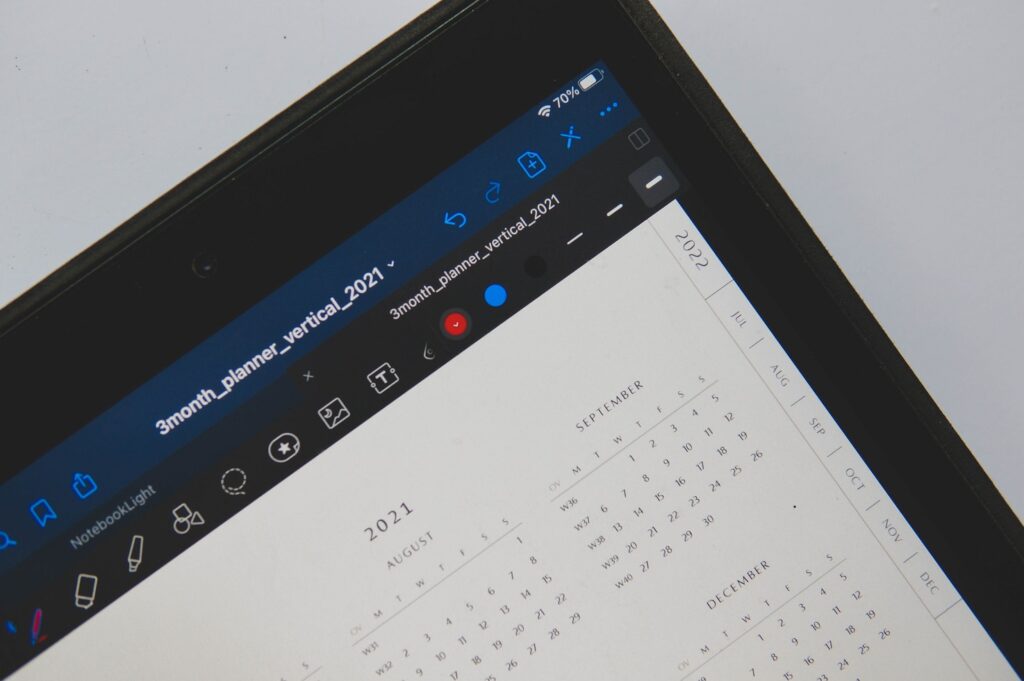
- Lots of different templates
- The zoom in box
- Being able to split screen
- How much you can really customize it and make it your own.
App #1: Microsoft OneNote
Now with all that out of the way let’s start with our first app. The first step I’ll be talking about is Microsoft OneNote. People typically use this app more. So for typed up notes instead of writing notes. But here I’ll show you how to use it for writing.
Organization
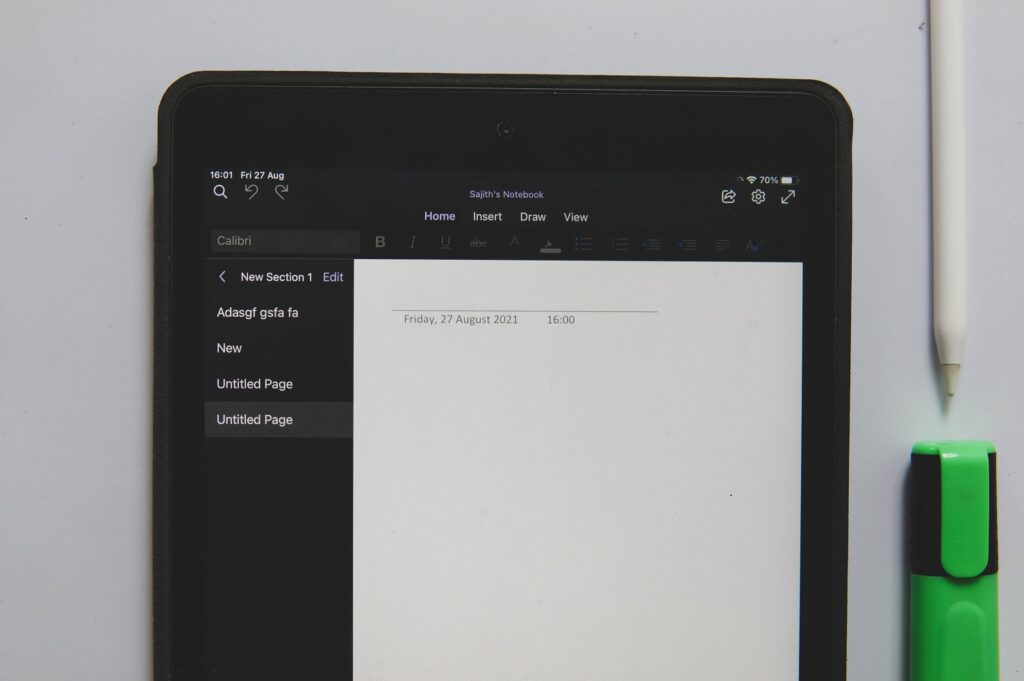
As you can see in terms of organization, OneNote is more of a listing system instead of a filing system. In your first column you have your main notebooks where you can create and delete rename and change the color of your notebooks.
In the second column you have what I call dividers you can add in as many as you’d like. And finally within those dividers you have your pages which holds all of your notes. In the middle here you have your tools.
Writing Tools
You start off with four preset writing tools and you can add more by clicking that plus button. You have preset pen thicknesses to choose from. As well as preset colors. But with this app you do get the color palette. All of your other tools are found at that same bar.
The lasso tool works like any other lasso tool. Very basic pretty good pretty average. To enter any media, you just have to click insert and have many forms of media to choose from.
Digital Note taking tools are very essential.

The Bads
Unfortunately, this app checks off very little off of our bonus list. Paper template options are very limited. You can’t really split screen with this app but you can split screen with other apps. There is no zoom feature and because of how simple the app is there’s not a lot that you can customize.
I’d also like to mention that OneNote doesn’t have set paper sizes it’s just a large sized piece of paper. Though this app does lack in bonuses, I do think that OneNote is a really good alternative for writing out your notes digitally. There’s lots of tools and colors to choose from definitely worth checking out especially since it’s free.
App #2: MetaMoji Note Lite.
The second app I’ll be talking about today is MetaMoji Note Lite. This app was actually mentioned in my android note taking alternative article and it’s available for iOS. So, I decided to edit it. I used this app for majority of my first year doing digital notes. And I absolutely loved it now. It’s not as advanced as Goodnotes but for a free app. It’s definitely worth a shot.
File Managing System & Pens
Like Goodnotes, MetaMoji has the filing system. It just makes everything really easy to rearrange create and delete. With MetaMoji you’re given two pen options. You have your standard pen where you can choose between solid or dotted lines. And then you have your calligraphy pen, where you can choose between preset a or preset b. And here you have your scale to choose the thickness of your pens. There are only whole number sizes.
Coloring System
In terms of colors, I noticed that the iOS version of this app, only gives preset colors whereas the android version you get the color wheel. Though that is unfortunate, you are provided with a good amount of different colors to use for both writing and highlighting.
Best free alternative for Goodnotes when it comes to digital note taking.
Highlighters, Eraser & Lasso Tool
For highlighting you may have noticed that, this app does not have an actual highlighter. Back when I did notes with this app, I came up with the hack of just changing the opacity of one of my writing utensils and problem solved. You’ve got your highlighter. As always your top bar has all of your tools this eye icon is basically used to help move your page around without leaving any writing marks.
Then you have your pens eraser lasso tool and you can also add in text. I do think it’s worth mentioning that the eraser is a little weird. You actually have to highlight what you’re going to erase before it actually goes away. It’s weird but easy to get used to.
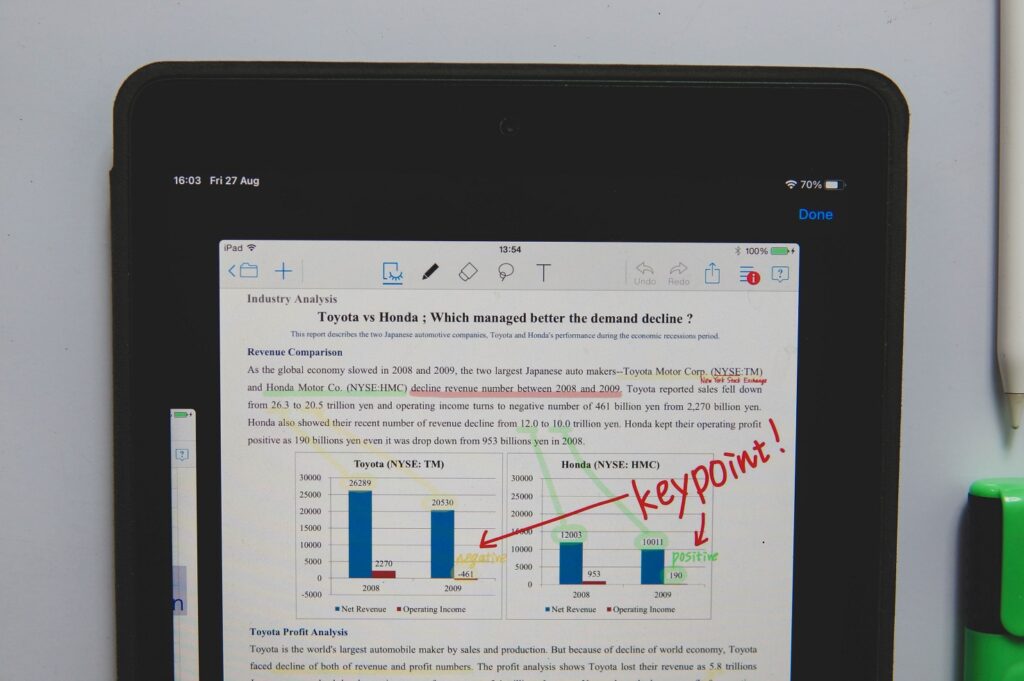
Importing Media
Like many good note-taking apps you can import media. Unfortunately, with this app you could only put in photos and not pdfs. But when I ran into this problem I would just screenshot the pdfs and then add them in as photos, which is more tedious but it’s a free app. So, I didn’t mind too much.
Bonus
This app actually checks off lots of our bonuses when you create your notebooks you do have a lot of paper types to choose from. The zoom in feature works really well. And of course there’s lots of customization you can do. The only thing metamoji doesn’t check off is being able to split screen with the same app, you can’t even split screen with a different app but you can’t have that little window instead which I guess is better than nothing.
I would say that this is a pretty good Goodnotes too. The layout is pretty similar of course with a handful of differences. But for a free note-taking app it has way more to offer than other apps I’ve tried out.
Digital Note Taking Outro
Before we end the article you may be wondering why I only have two options if I so called tested out a handful. Well I did and many of them didn’t have those features I mentioned without having to pay for them. The moment any app told me to upgrade to their pro version to access a feature that should have been free, I deleted immediately.
And with that end this article. Thank you so much for tuning in. If you do have any other questions about these apps please leave a comment down below.